House Kit Assembly Guide
Our guide walks you through the house kit building process with detailed instructions and marked panels. Your new home can be under roof in 1-2 days.
Whats Included
- Structure Assembly Instructions
- Window Openings
- Engineer Stamped Blueprints
- Plate Lumber
- CAD Design
- Underlayment
- Precut Exterior Wall Panels
- Fasteners
- Precut Exterior Roof Panels
- House Wrap
- Special SIPs Panel Tools
- Door Cutouts
- Caulk
- Lumber for Interior Wall Framing
- Standard, Vertical, and Horizontal Wiring Chases
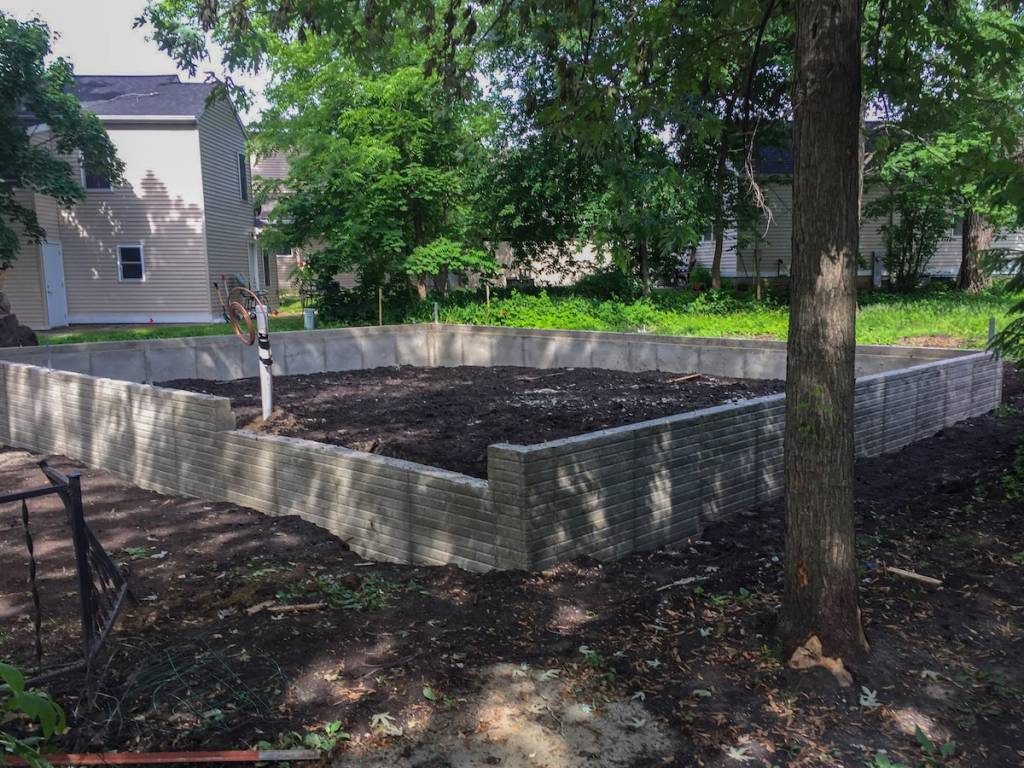
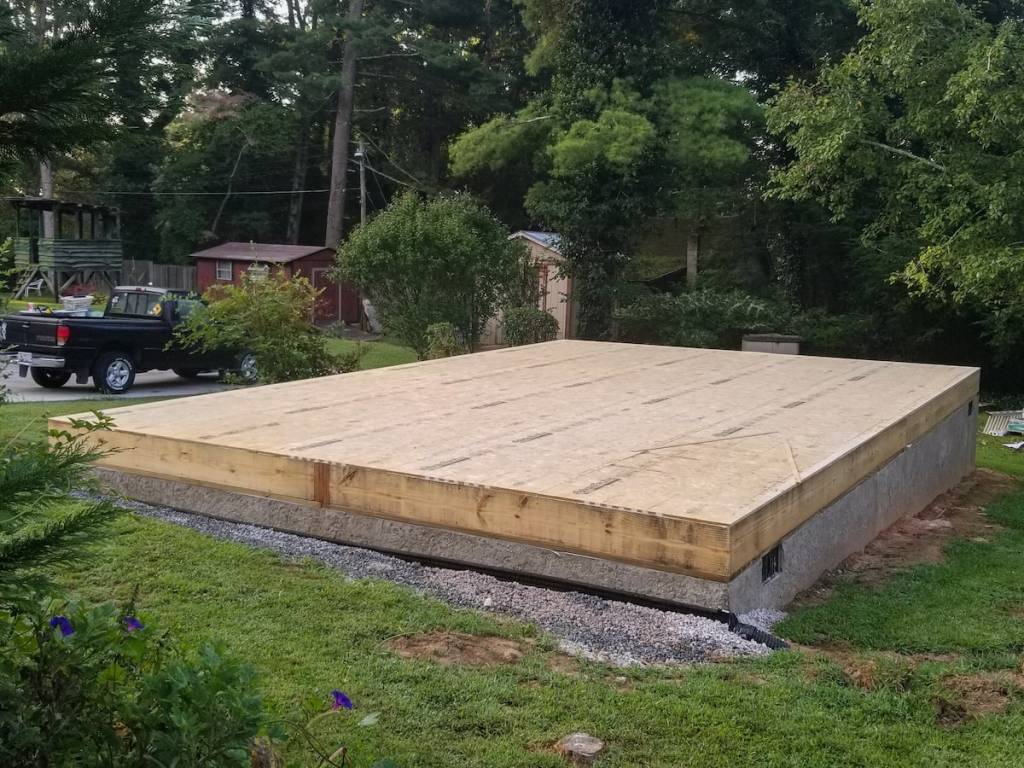
Before starting, your slab or floor system should already be down. If you are building on a slab, there should be at least ½” x 4 ½” (or 6 ½” depending on panel thickness) Treated CDX under your walls.
Look at the plans for your small house kit provided by Mighty Small Homes.
- Make sure you’ve oriented the plans with the direction of the house.
- Be sure the plans you are working from are the same dimensions as the slab, floor deck, or trailer. It’s okay if they are not exact. If they are different by more than 1”, you will have to make some adjustments on site. If they are off by 12” or more, call your Mighty Small Homes representative to discuss your options.
- Make sure all panels match the dimension (within ¼”) of the dimension shown on the plans. If not, you may have trim a panel down.
- Decide which two corner panels you’ll start with. We suggest starting on the far side of where your panels have been unloaded and then work your way toward your unloading site. This way you don’t have to carry panels around other panels that have already been set.
- This plate should be glued and bolted down to the treated plate. You can also nail it into the concrete if you have the proper tools to nail into concrete. If not, the anchor bolts should be coming up through the plate and have a washer on them to hold the plate down.
- Your bottom plate should be placed 7/16” from the outside of the deck or slab so that the panel skins will both rest on something solid. The SIP skins should not be hanging over the edge.
- Consult the plans provided and locate the panel numbers you need.
- Ensure both panels are positioned with the wiring chases closer to the bottom plate.
- Ensure both panels are positioned with the inside in and the outside out. On all panels, the panel number is written on the outside face in large spray paint.
- Ensure both panels can sit flush the floor. If there is an anchor bolt in the way, you may need to cut out a little bit of foam from the panel.
- Place caulk either on the bottom plate or under the panel along the foam.
- Carry the panel to the corner and set on skin along the plate, then tilt the panel up and over the bottom plate. You may need to bevel the bottom plate to help the SIP slide over it easier.
- Once the panel is down, move it into place. You may use a sledgehammer or mallet to help move the panel left or right if you cannot push it.
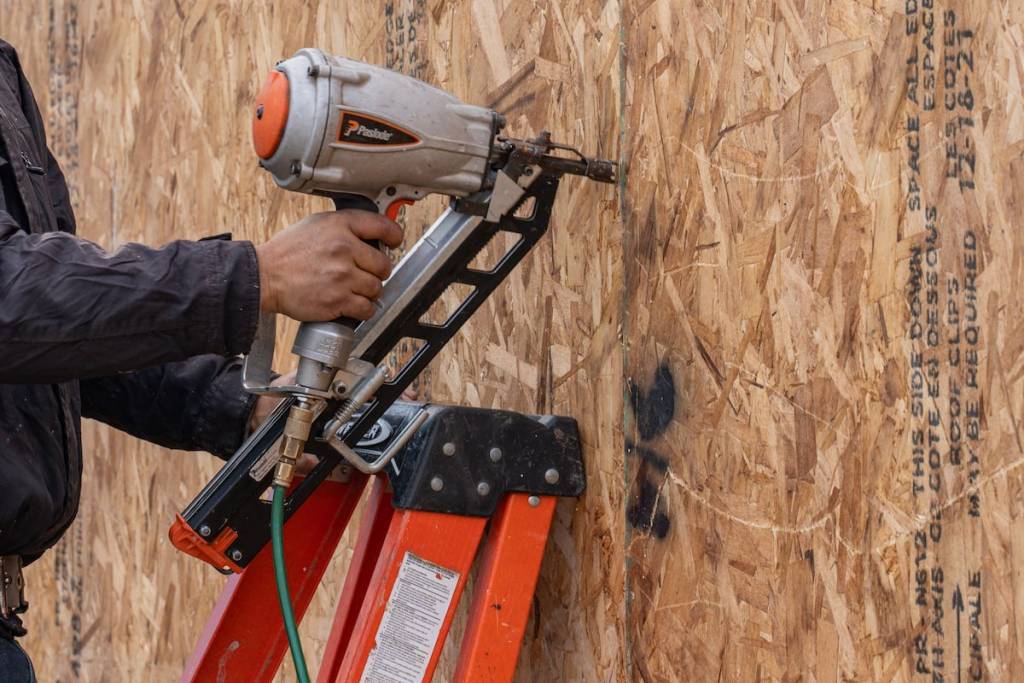
- Before nailing it, be sure it is plumb and square and flat on the bottom. Once you ready, using 8d nails, nail the inside and outside at 6” on center. You may want to place only 3-4 nails in the bottom to start in case you have to make a change.
- Grab the 2nd corner panel that will butt up to the first panel. Place a bead of caulk along the 2x that is butting into the other panel (seal the joint). Slide the panel into place the same way you did with the first panel.
- Once both corner panels are up, level, and square, you can nail them down with 8d nails at 6” o/c.
- Also, you will go to the outside corner and, using the 6” (8” if your walls are 6 ½”) screws provided, place 1 screw every 12” along the corner. The screw should go through the first corner panel into the 2x at the end of the adjoining panel. You do not need to go through the 2x at the end of the first panel. (place screws 2” off the edge).
- Your corner should now be complete, and you can move forward.
- Look at your plans again to decide which direction to go. Once again, consider how you can work toward your unloading site so you avoid walking all the way around to install a panel. Do not do all corners first and then work toward the center of each wall; this can lead to a tight connection on the last panel of each wall.
- Once you have decided on a direction, consult the plans provided and locate the panel number you need.
- Make sure the joint of the panel already standing will accept the panel you are ready to place. The lumber should already be in one or the other panels. Not both, nor neither. If so, you may have the panel backward.
- Place a bead of caulk along the bottom of the panel (or on the plate) and along the connecting joint.
- Slide the new panel over the plate, then using a block of wood to protect the edges, gently tap the new panel over the spline joint of the first panel until the two-panel skins come together. (Note, they may not come together perfectly on both inside and out).
- If you cannot connect the SIPs with the sledgehammer or by hand, you may need to use the lifting plates and ratchet straps. Place one plate on each side of the joint. Place screws in the plate on the further side from the joint. Put your ratchet straps between the plates, connect them and use the ratchet to pull the joint together.
- Make sure the panels are plumb and level. Nail along the bottom and the connection joint with 8d nails at 6” on center.
- Continue this process until you reach the next corner, then follow the corner process again.
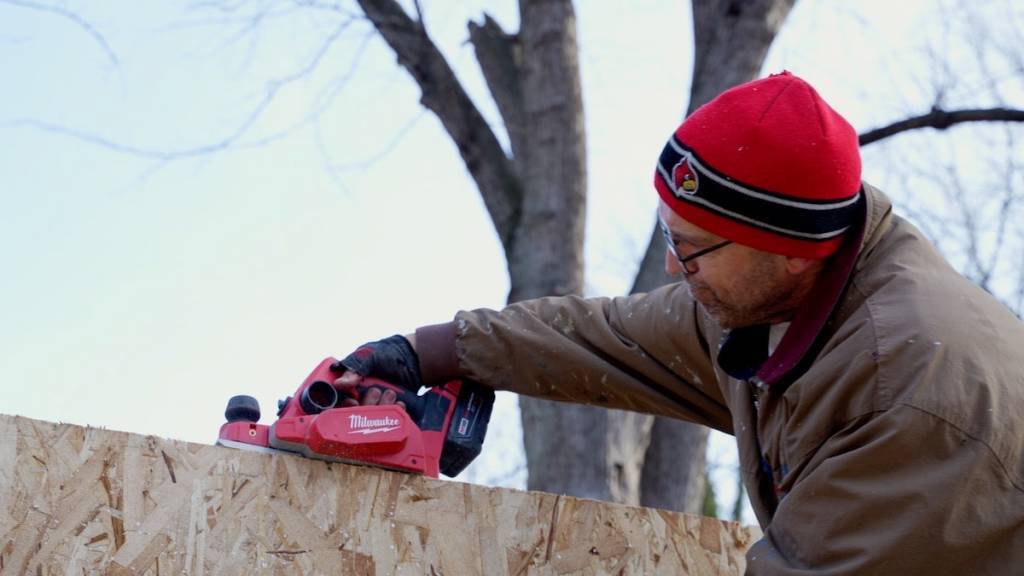
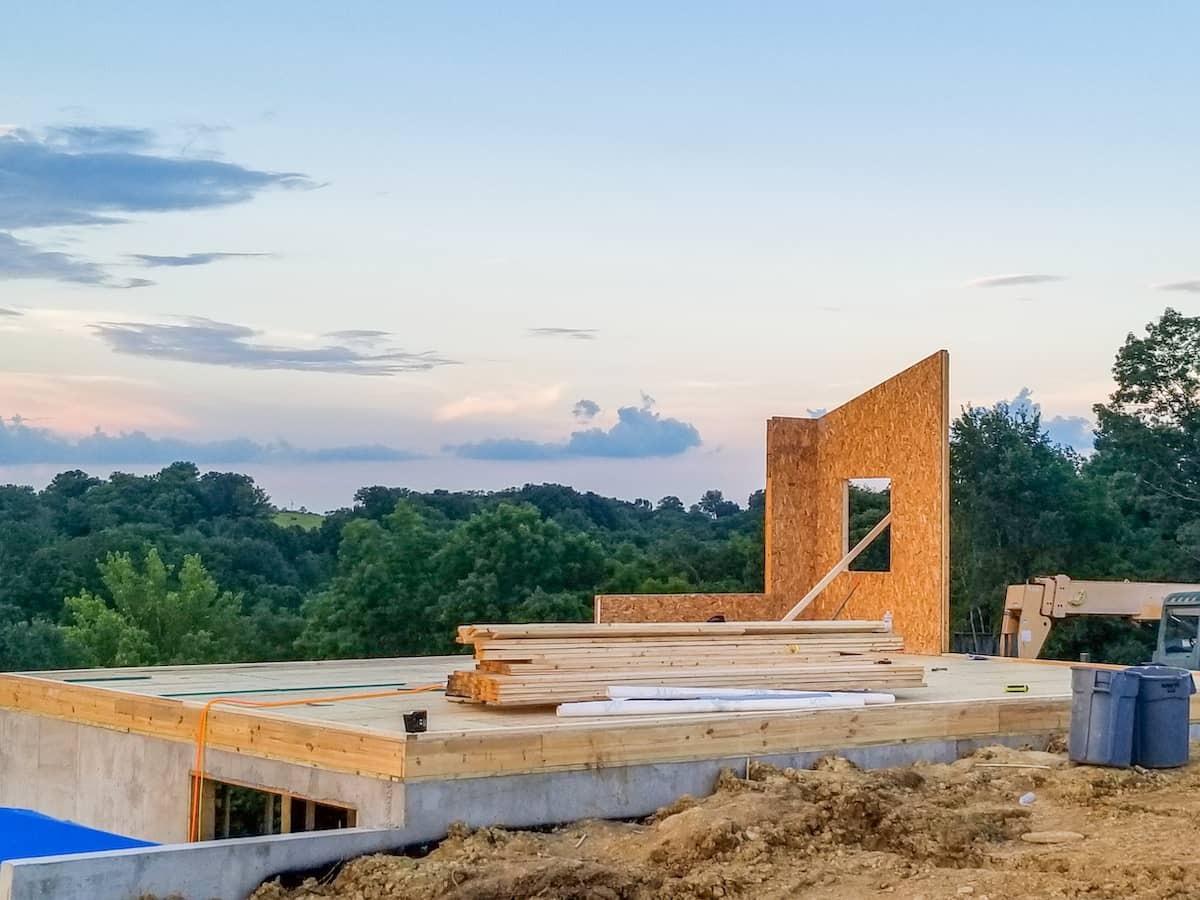
Once all of the wall panels are installed, you will need to level off the top. Prior to placing the top cap (if needed) in place, use a planer to even out any edges of the OSB that may be sticking up higher on one panel vs the next.
- If you have a ridge beam, there should be a beam pocket cut into the center of gable panels. Using the provided LVL’s, you will set your center ridge beam.
- You should use a crane or lift to achieve this as the beam will be heavy and could cause harm if dropped on a person.
- Lower the ridge beam into place in each beam pocket cut into the gable panels. The top of the beam and the panels should all line up.
- You will later come back and put expanding foam sealant around the joints where the beam sits. The pocket is typically cut slightly wider than the beam for ease of installation. These gaps can be filled with the expanding foam sealant.
If you do NOT have a ridge beam, the steps below are still the same, but the panels simply rest on either walls or interior supports.
- You will likely need a crane or forklift (such as a Skytrak) to lift your roof panels into place.
- Look at your plans and select which roof panel to start with. If you have a ridge beam, it is suggested that you do not place all of one side then all of the other as this could push your ridge beam; instead, place panels located across from each other on either side of the ridge beam to keep everything in balance.
- Once you have decided, take the first panel and apply stop plates to the bottom of the panel. The plates can 2×4’s that are screwed or nailed to the inside skin that will stop the panel from sliding down the slope as you put it into place. The stop plates would be put in place up from the bottom edge to allow enough room for the overhang. All of the stop plates should be placed the same distance from the bottom on each panel unless the overhang changes. Note: You do not have to use them.
- While still on the ground, attach the provided lift plates to the panel with the 2” SIP screws (provided). Try to keep it centered and use at least 10 screws in each plate.
- If you have a cottage plan, you may have place one plate closer to the top and one further from it to adjust for any roof slope. This is not as big a deal for the ranch or modern plans.
- Before raising the panel, measure from the end of the panel to the center of the wall. This is where your SIP roof screws will be placed at 12” on center. The roof screws should be 1 ½” longer than your panel is thick. (ie a 6 ½” roof panel will use an 8” screw).
- Using a screw gun, start the screws into the outside skin of all four corners of the panel. For now, place each corner 12” in from the edge. It will be harder to connect panels if the edges are too tight.
- Once the set screws are in place, caulk along the panel joint between the first and second panels.
- You are now ready to set the first roof panel. Lift the panel into the air with your equipment, be sure no one is standing under the panel in case it falls.
- Move the panel into place. Set it down along the gable end, end wall and ridge beam (all which have been caulked). Be sure the top of the panel and the bottom of the panel are the same distance along the gable end overhang. Also, be sure this is the case with the eave overhang.
- Once the panel is square to the house and ridge beam, you may screw it down. Start in 1 corner but don’t tighten it completely down. You may need to adjust the panel slightly before putting in the next screw.
- Once all four screws are in place, you are ready to set the opposite side roof panel.
After both starter panels are set, you’re ready to start connecting roof panels. Some tips:
- The roof panels work as the walls do. One panel will have a piece of lumber sticking out from one joint. This edge will slide into the first panel that has been placed.
- Find the next panel on the roof panel and place a bead of caulk along the joint that will adjoin the panels. Follow the same steps you used for the starter panels. To join the panels together, either push or use the sledgehammer or ratchet straps to pull the panels close together. You may need to bounce on the panel to get it started. Vibrations will help the panels slide into place.
- Once together, you will screw down the four corners with the long screws. Along the panel joint, you will use 8d nails at 6” on center on each side of the panel to tie the joint together. Most people will only tack off the roof with a few nails, then come back and nail all of the joints at one time once the roof is finished.
- Continue on to the next panel until all roof panels are in place. You may have to trim the last panels prior to setting them to be sure the overhang is consistent from top to bottom. Sometimes you will place a panel slightly out of square and that will have changed the overhang. To correct that, you will need to remove the lumber in the end of the final panel, trim the panel to where it needs to be. Use the hot foam scoop to get 1½” recess again then replace the 2x lumber. Your panel is now ready to set.
Congratulations!
You are now under roof and ready for the final two steps!
Now go back and check all of your joints, corners, and plates to be sure you have followed the nailing pattern on every panel. It’s not uncommon to miss or forget a panel along the way.
Once you are confident everything is nailed properly:
- Using the expanding foam sealant, fill in any gaps or voids that would allow you to see light from the inside to the outside. You may also use caulk on these joints if they are tight.
- On the interior skins of the roof, place the SIP Tape along the joint from the top of the panel to the bottom. Be careful. It’s very sticky can be tough to work with. Start at the top and slowly work your way down.
- Tape all of the connection joints and run a bead of caulk along all of the joints between the roof and wall panels.
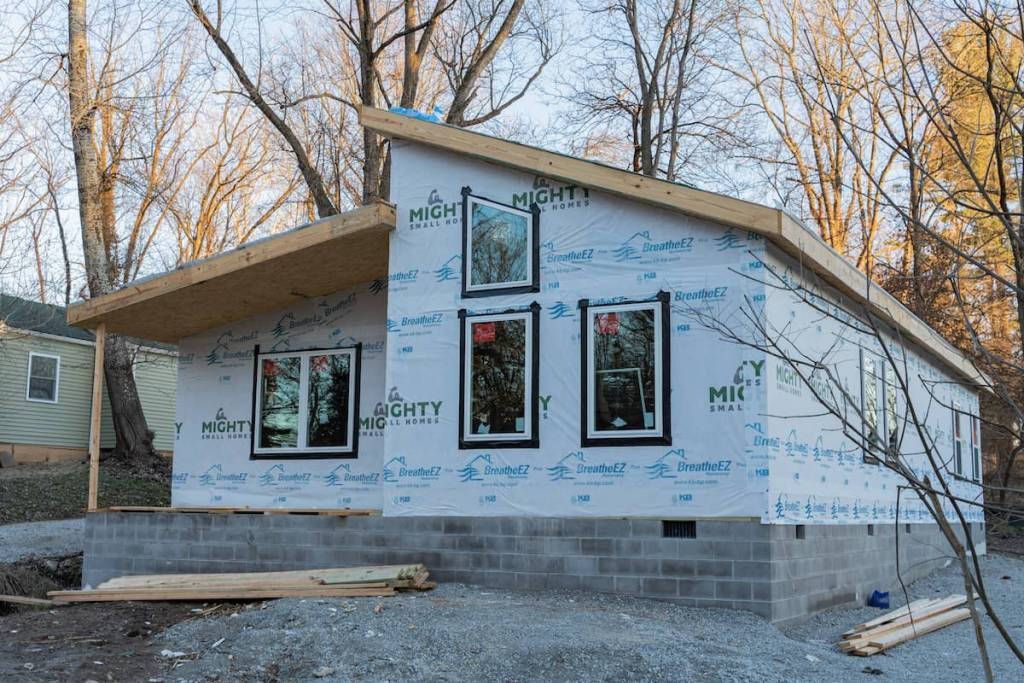
- Install the house wrap and roofing underlayment.