Adding a Loft to Maximize Small Home Living Space
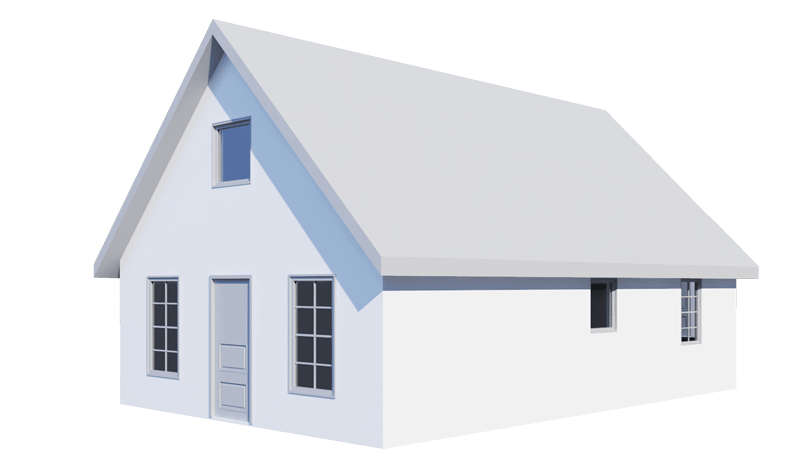
Small homes can feel larger when you put the vertical space to work. In a Structural Insulated Panel (SIP) home, a vaulted ceiling creates open volume that often goes unused. Adding a loft in that area gives you an extra room without expanding the footprint. SIP construction makes this easier because the roof panels create a tall, uninterrupted cavity that can accommodate a sleeping nook, storage loft, or a small office.
Lofts appeal to homeowners who want flexible space in a compact layout. A loft can serve as a guest bedroom, a play area, or a quiet workspace. It also draws the eye upward and adds interest to a small home. Since it uses existing height, it increases perceived space without the cost of a full second floor.
Why Vaulted SIP Ceilings Are Ideal for Lofts
A vaulted SIP ceiling provides several practical advantages when you want to add an upper-level living or storage area. The structure, insulation, and clear volume all work together to support a loft without complex modifications.
1. No Rafters or Trusses That Interrupt Space
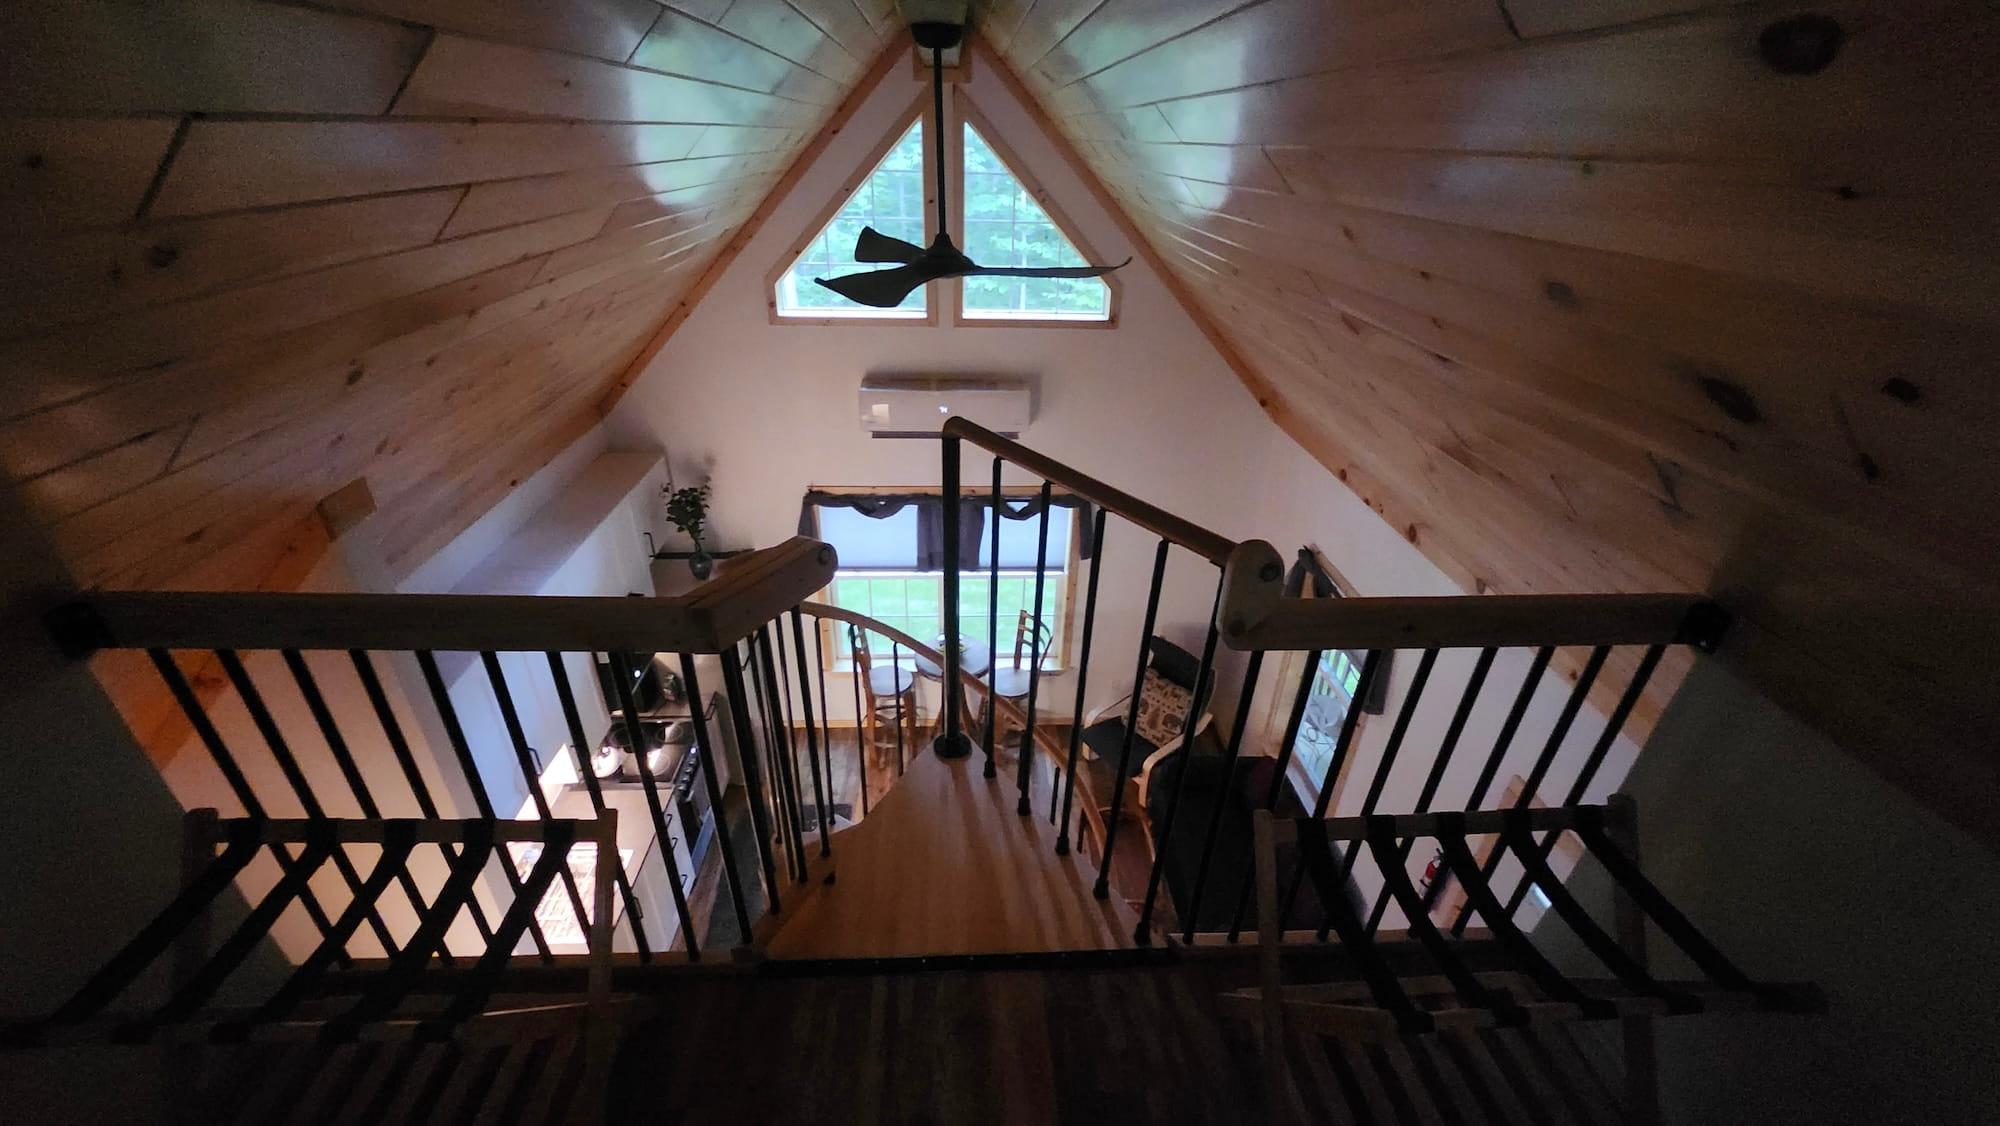
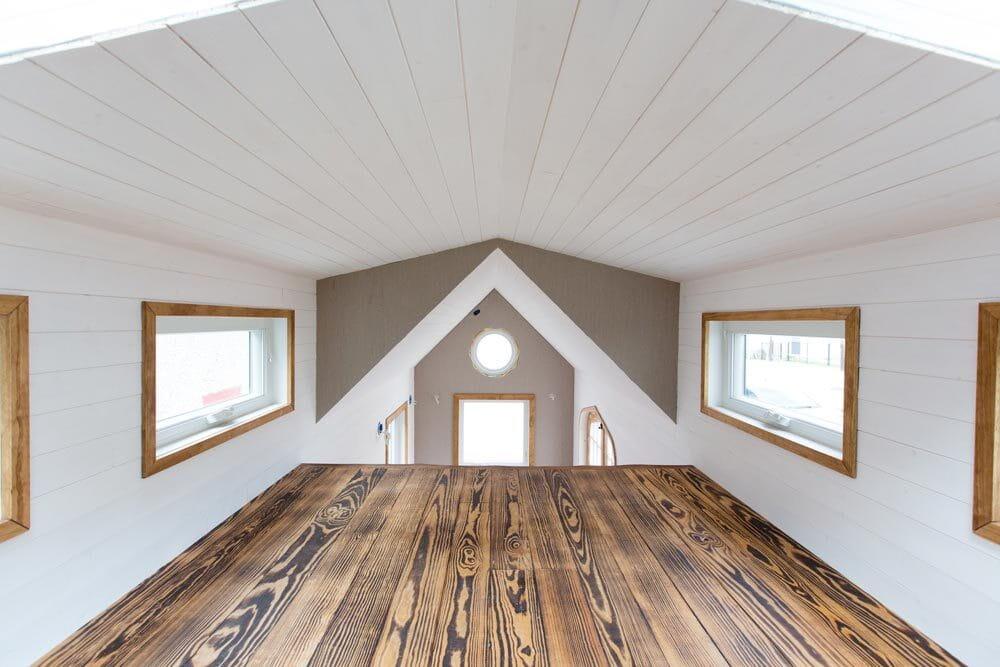
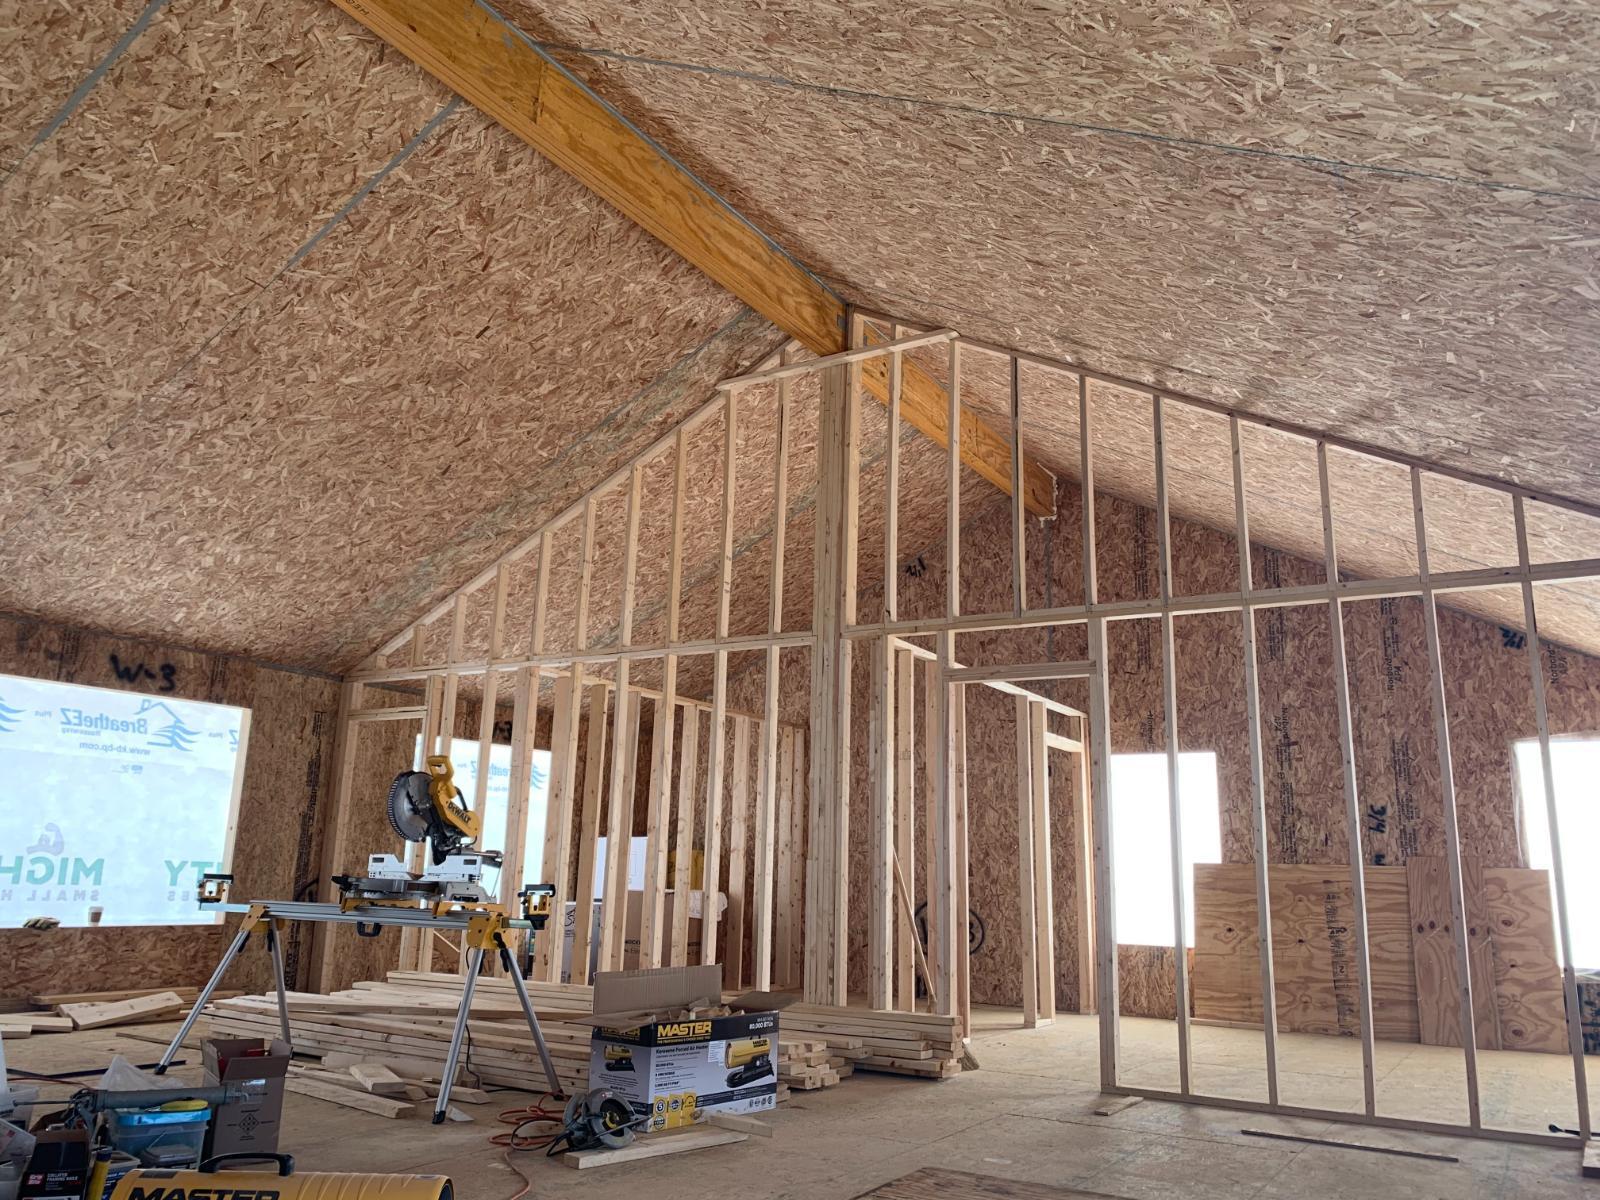
Traditional framing often uses rafters or trusses that span the attic and limit usable space. SIP roof panels remove much of that clutter. They create a wide, open volume from floor to roof peak, which means the full upper cavity is available for a loft floor or storage.
2. Strong Thermal and Acoustic Performance
SIP roofs contain solid foam insulation between OSB skins, forming a sealed envelope. The loft stays within the conditioned space, so it stays comfortable without drafts or cold spots. A thicker SIP panel, for instance, a 10-inch thickness with an approximate R-value in the high thirties, reduces heat loss and helps block outside noise. This makes the loft feel as comfortable and quiet as the main living areas.
3. Structural Strength Without Cutting Into Framing
SIP construction supports long spans with fewer internal supports. Many SIP homes rely on structural ridges or beams to carry roof loads, which keeps the area below open. Because you are not cutting into trusses to build a loft floor, the roof structure and insulation stay intact. SIP panels often exceed the strength of conventional framing and can handle roof loads and a loft structure without added complications.
Types of Lofts and Their Use Cases

Lofts can take on different roles throughout the life of a small home. In a SIP build, the conditioned space and open volume make it easy to adapt the loft to whatever you need, whether that is extra sleeping room, storage, or a quiet corner for work.
Sleeping Loft
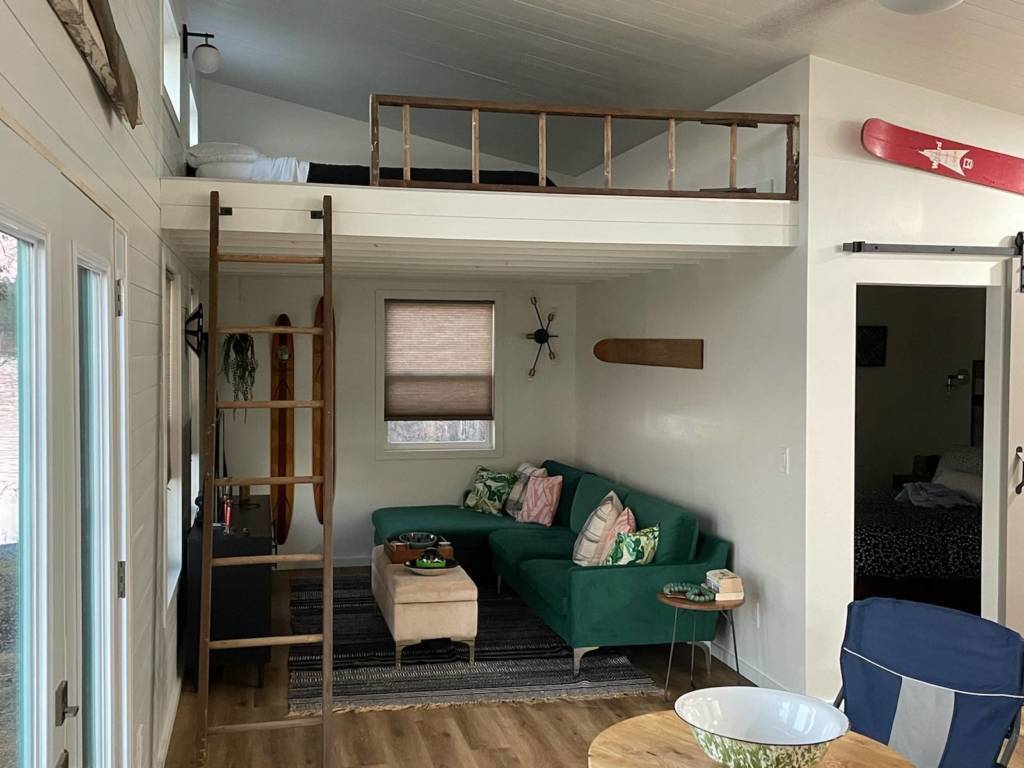 A sleeping loft is a common choice in small homes. Raising the bed frees up the main floor for daytime activities and creates a cozy retreat above the living space. In a SIP home, the loft stays comfortable year-round since it’s within the insulated envelope. It helps to plan for enough headroom above the mattress so you can sit up without feeling cramped.
Creative Studio or Workspace
 Using the loft as a studio or home office helps separate work from the living area below. The height and natural light make it a focused spot for art, writing, or remote work. With a vaulted SIP roof, homeowners can add skylights above the loft to brighten the space. Keeping supplies and projects in the loft also helps maintain order on the main floor.
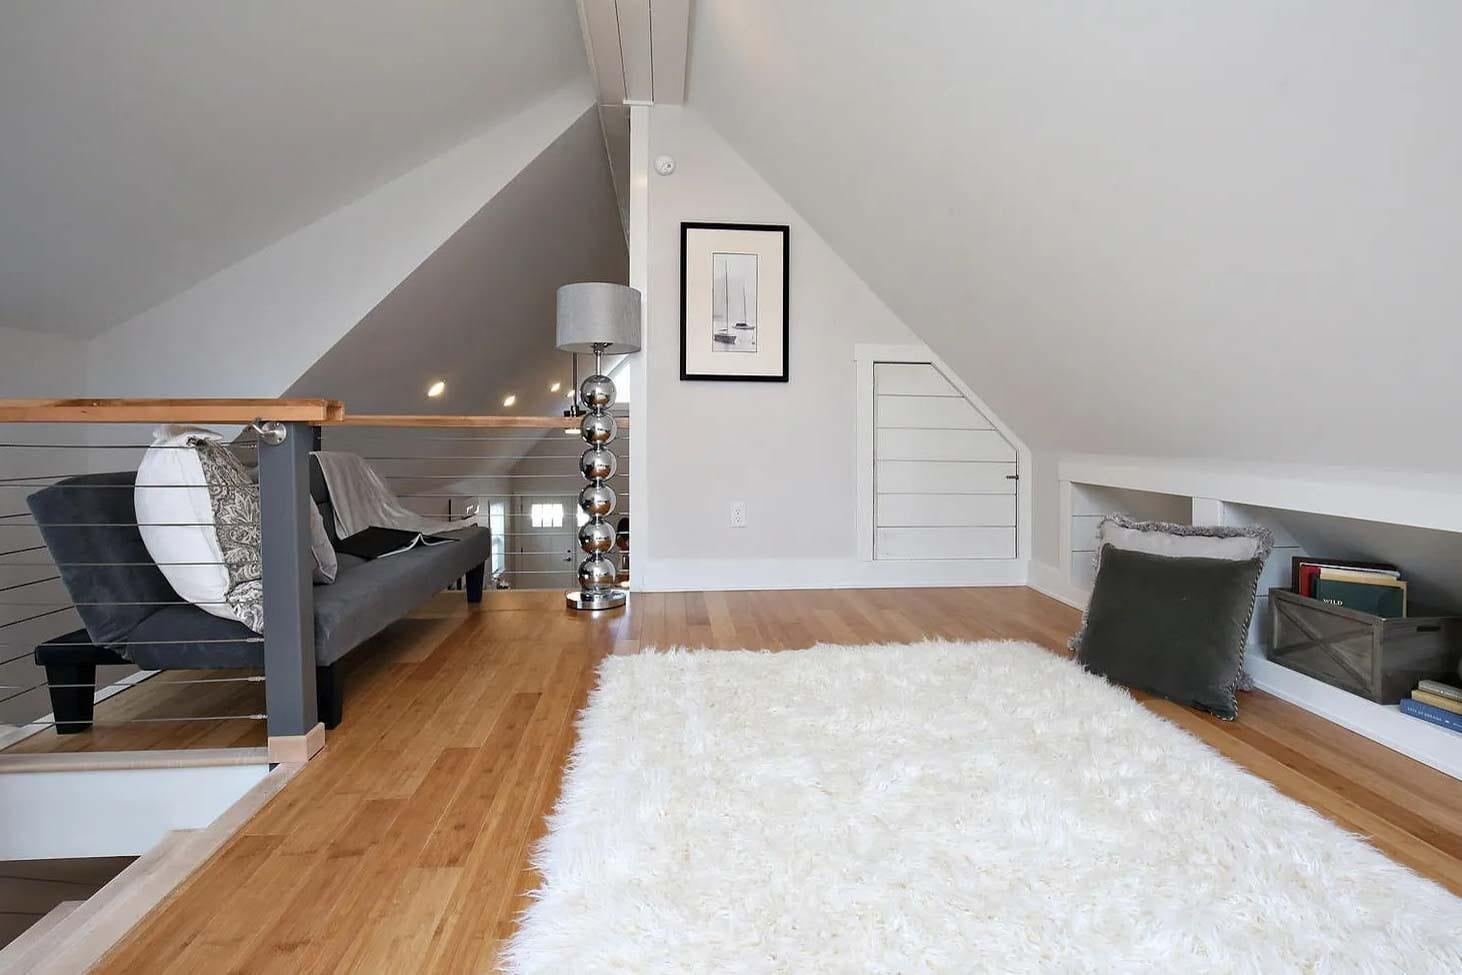
Storage Loft
 A storage loft is useful in small homes that do not have attics or basements. Seasonal items, luggage, or gear can be stored out of the way but still remain easy to access. Because the SIP roof keeps the loft within the conditioned envelope, the space stays dry and insulated. That makes it more practical than storing belongings in an uninsulated attic or crawl space.
Play Loft or Reading Nook
 A loft can work well as a play area, reading corner, or quiet retreat. Kids often enjoy the elevated hideaway, and adults can use it as a compact library or relaxation space. This type of loft adds a sense of depth to a small home, making it feel more layered and spacious.
Mechanical or Utility Loft
 Some lofts are designed to house mechanical equipment. In a small SIP home without a basement, placing the water heater, air handler, or ductwork in a loft keeps bulky systems out of sight and away from living areas. The height can also support efficient airflow because warm air naturally rises toward the upper part of the house.
What Buyers Want to Know
If you’re considering a loft in a SIP home, you are likely wondering how it works in practice. Most buyers share the same questions about structure, comfort, and cost, so it helps to walk through the common points of concern.
“Can the structure support it?”
The main question is how to hold up a loft safely in a SIP house. It is possible to add a loft without affecting the SIP shell if it’s planned correctly. The loft floor can be supported by interior framing or beams that carry the load to the foundation, or by engineered connections to the SIP wall panels.
“How much headroom will I have, and is it usable space?”
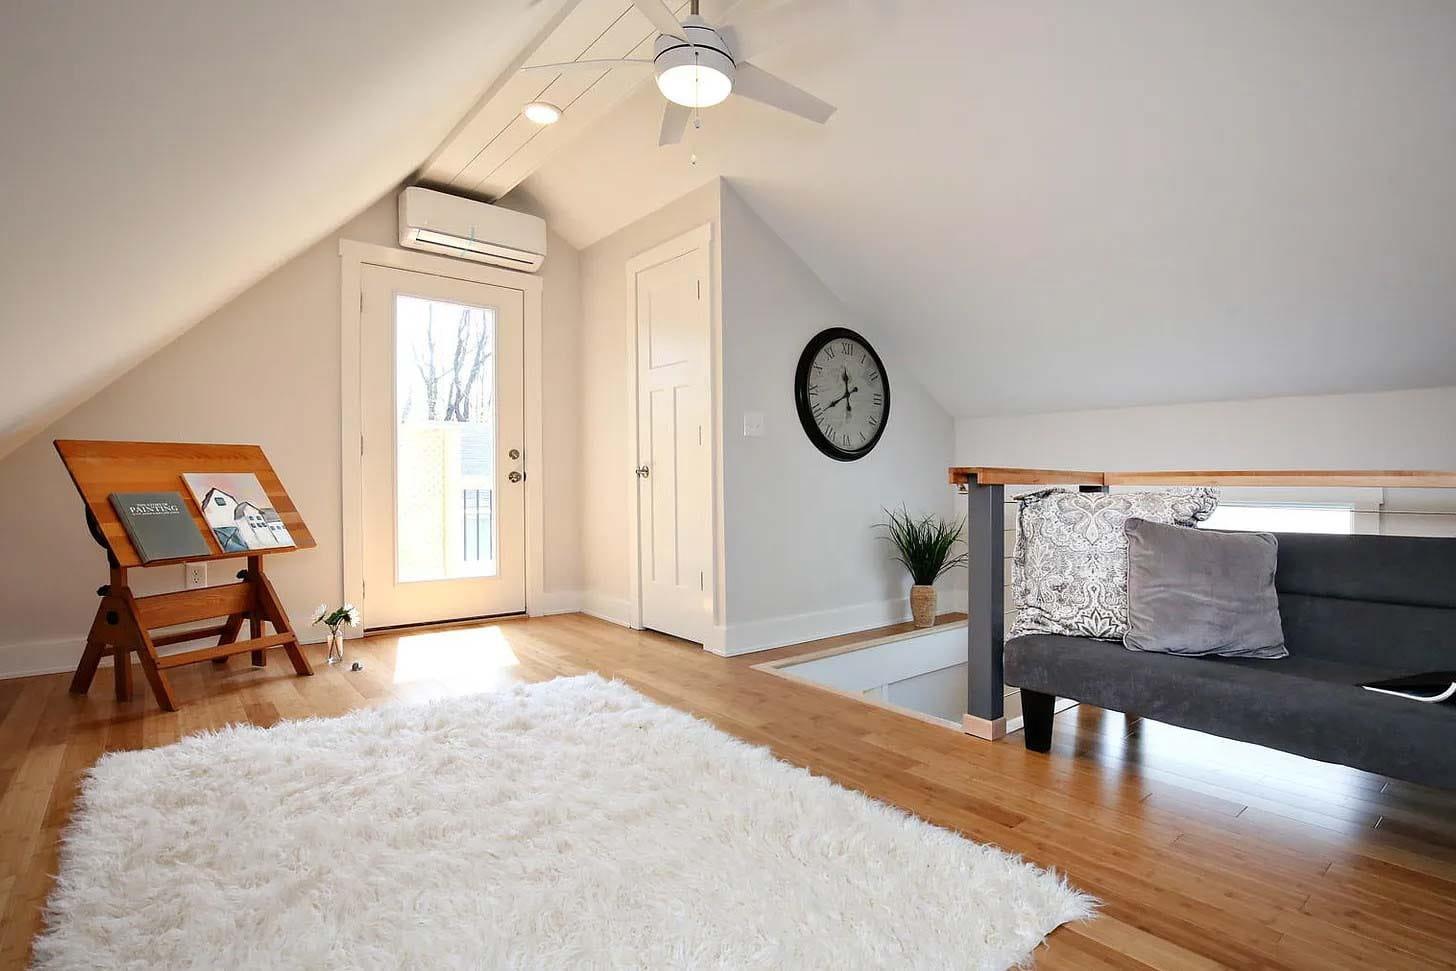
Buyers want to know if the loft will be comfortable or only functional as a crawl space. The answer depends on your roof height and design. Lofts in small homes often have limited headroom, which is fine for a bed or storage. If you want to stand upright, you’ll need a roof peak that gives you around 7 feet of clearance at the center. Building codes treat spaces under 6 feet 8 inches as non-habitable, which is why many small-home lofts aren’t counted as full rooms. Even so, many homeowners find 3-4 feet of height suitable for a sleeping or lounging spot.
“What does it cost, and is it worth it?”
Adding a loft is one of the most cost-effective ways to gain extra room. You’re creating a partial floor inside the existing volume, so materials and labor are limited. Planning for the loft during the design phase keeps costs lower. Mighty Small Homes offers optional loft framing kits, and a standard package is under $1,000 in most models.
“Will adding a loft affect the SIP structure or insulation?”
When installed correctly, a loft does not reduce the strength or energy efficiency of the SIP shell. Homeowners often worry about cutting into panels, but a loft doesn’t require that. Proper support methods allow the structure and insulation to stay intact.
“What can I actually use it for, and what are the trade-offs?”
A loft can serve as a sleeping space, a workspace, storage, or a play area. The best use depends on what your home needs most. The main trade-offs involve access and comfort, since headroom and climbing height can limit how the space is used.
Safety Considerations
Because a loft is an elevated platform, a few safety points are essential.
- Sturdy railings: Open loft edges need a guardrail for fall protection. The standard residential code requires rails to be at least 36 inches high.
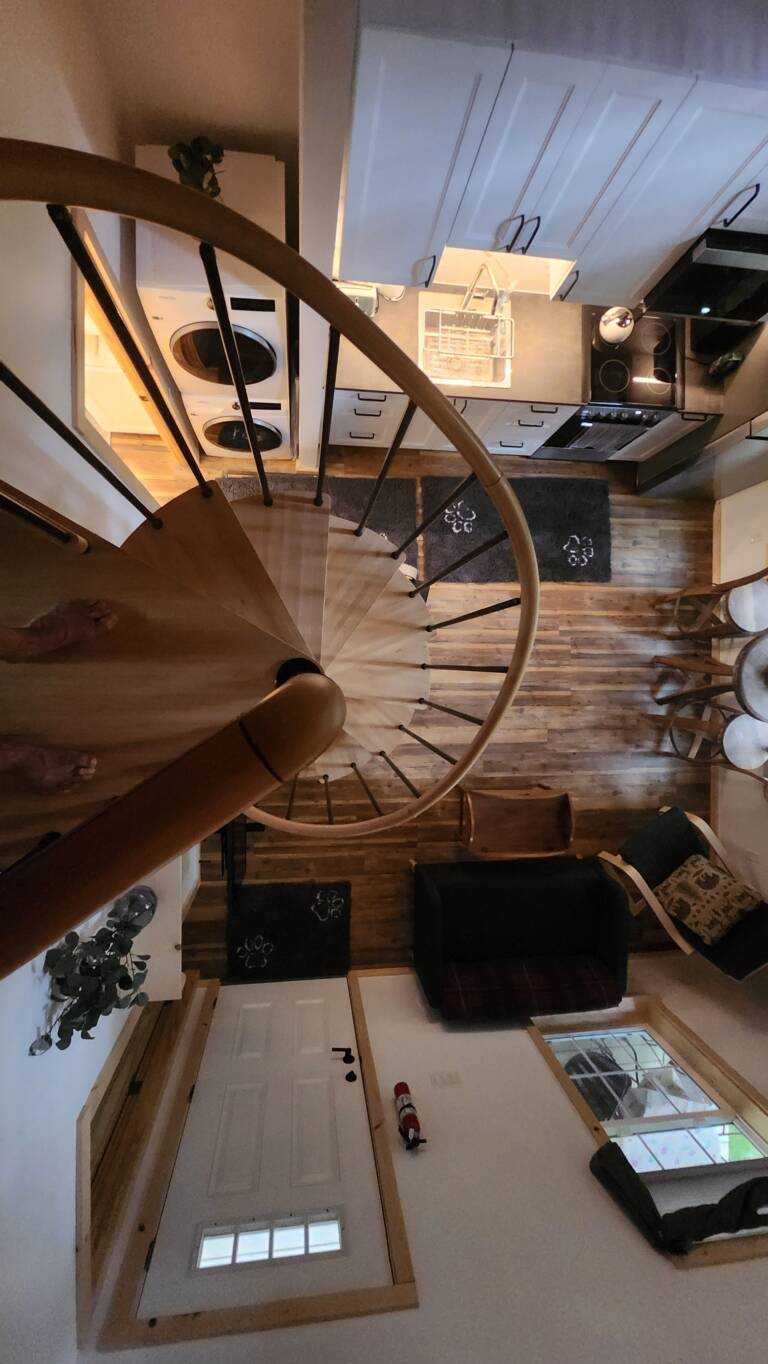
- Proper stairs or ladder: Choose an access method that suits your home. A staircase is easier to climb, but it takes up more room. A ladder saves space but is steeper.
- Egress: If the loft will be used for a sleeping area or any regular occupancy, consider how someone would exit quickly in an emergency.
- Head clearance and ergonomics: Plan the access so you have enough headroom when stepping on and off the loft.
- Fire safety and ventilation: Warm air collects at the top of the home, and SIPs create a tight envelope. A ceiling fan or small ventilation fan helps keep air moving in the loft.
What Builders & Contractors Need to Know
Builders, contractors, and hands-on homeowners should approach loft construction in a SIP home with a few specific considerations in mind. The process is straightforward, but it differs from conventional framing, so planning and technique are important.
Use Interior Framing for Support
Leverage interior walls or partitions as supports for the loft. When loft joists align over the top plates of these walls, the load transfers directly to the slab or foundation. This creates a clear path using framing already in place instead of relying on the SIP exterior walls.
Avoid Cutting Into SIP Panels
This is a core rule. Any opening in a SIP must be sealed and structurally addressed, so it’s better to design the loft so that no cutting is required. Use hangers, ledgers, or posts rather than notching into the panels.
Standardizing a Loft Framing Approach
Builders working on multiple SIP homes can save time by keeping the loft layout consistent. Choosing a standard span and joist size allows some parts to be pre-cut or partially prefabricated, which speeds up assembly on each build.
Planning Loft Access Early
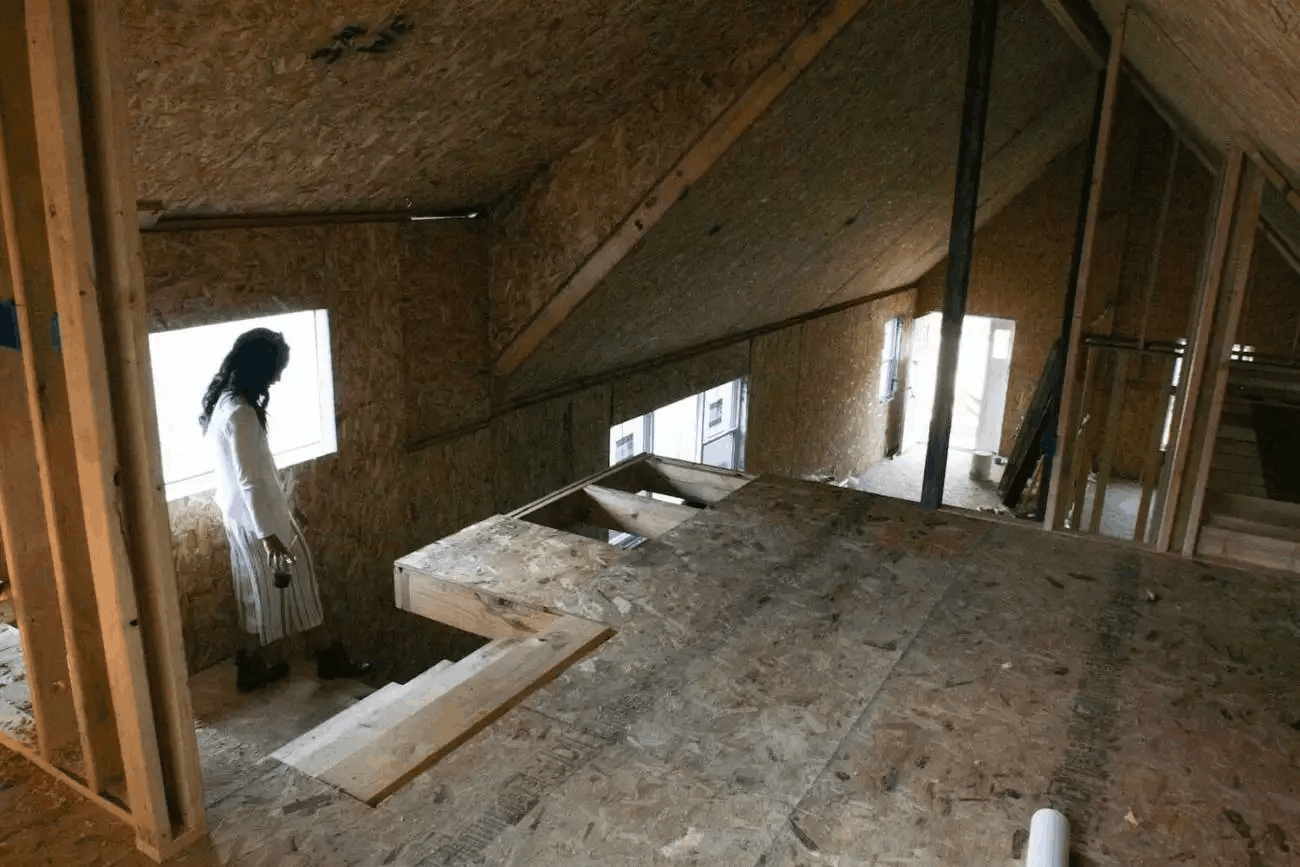
Decide on the ladder or staircase location during the design phase. Any openings or support framing for stairs should be set before the SIP shell is complete.
Loft Options in SIP Kit Packages
For contractors assembling SIP kit homes, offering a loft-ready option can strengthen the package. Many kit providers now include pre-engineered loft framing modules. Mighty Small Homes, for example, lets customers add a loft package that includes the required lumber and hardware.
Educating Clients With Visuals
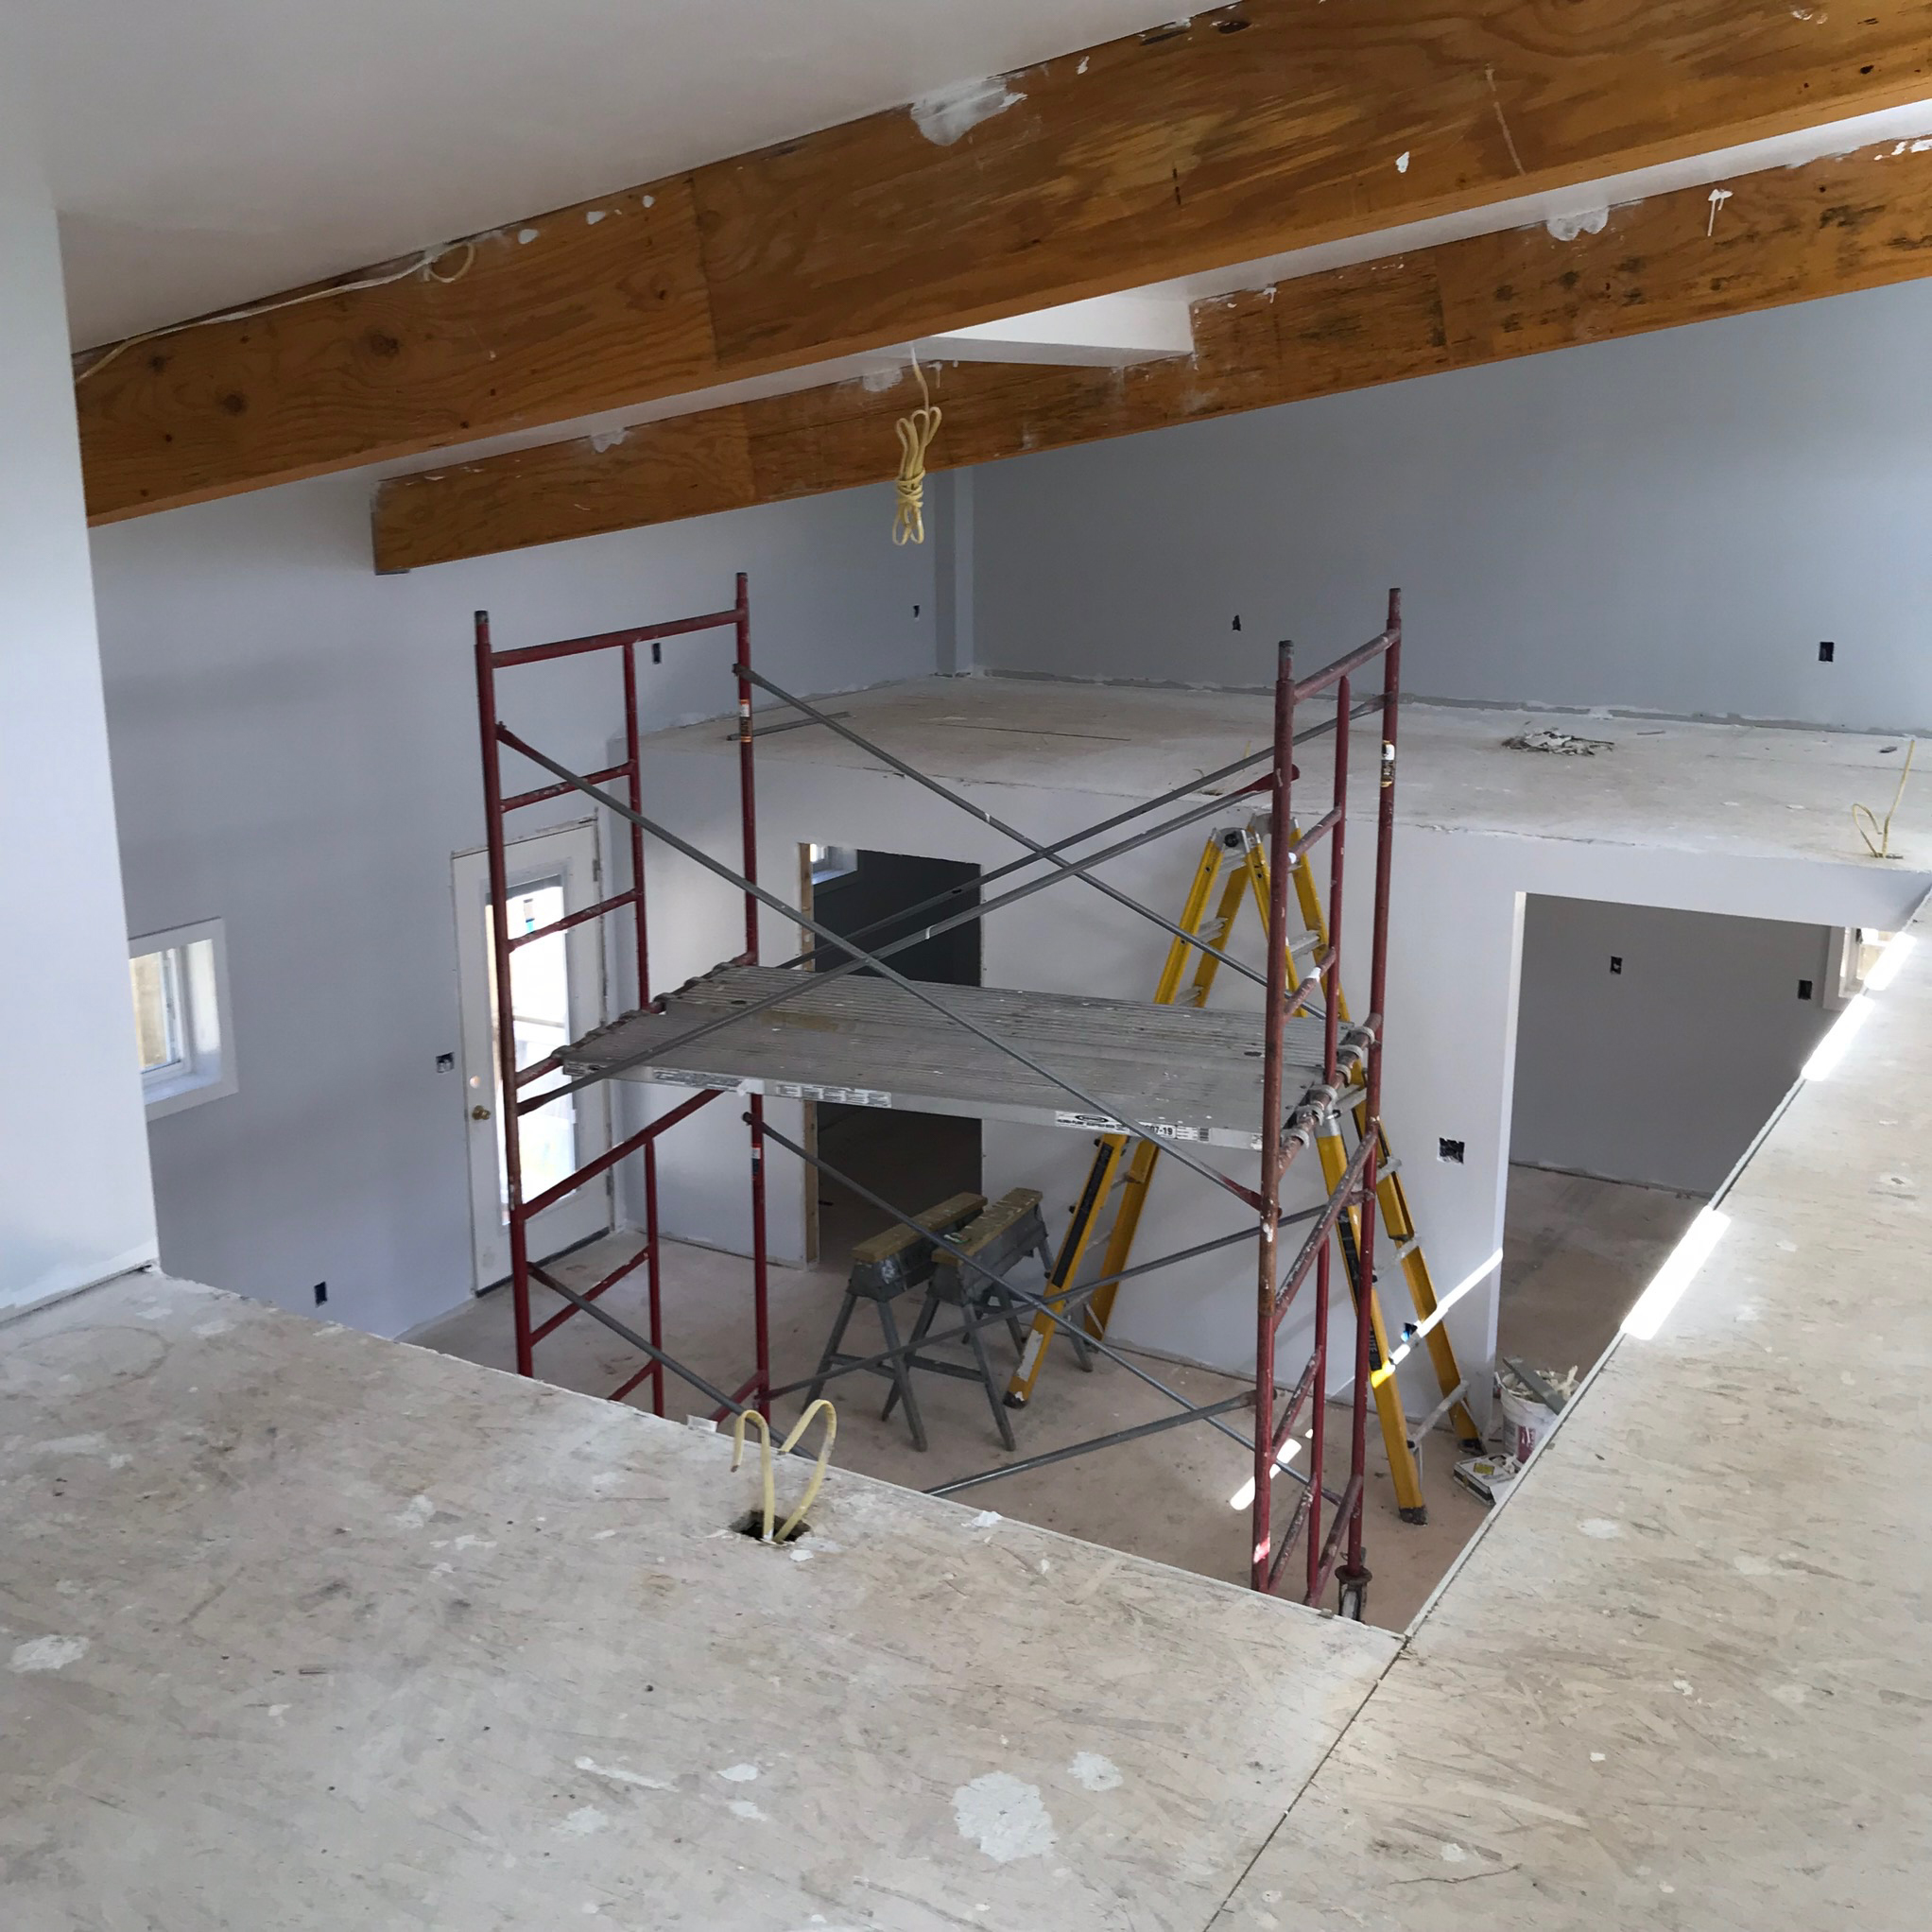
Homeowners often struggle to visualize how a loft fits into the vaulted SIP structure. Diagrams or photos showing the loft floor position and the clear roof volume help set expectations. Visuals also show that no rafters or trusses interfere with the space.
How to Frame a Loft in a SIP Home
If you’re ready to build or frame a loft in a SIP home, the process follows many of the same steps as conventional framing, with a few SIP-specific considerations. These points outline the sequence and practical details to keep in mind.
1. Establish the Support Structure
Decide how the loft will be supported on all sides. Common methods include:
- Using interior load-bearing walls:
If an interior partition lines up under the loft edge, use it as a bearing wall. You may need to double the top plate or add studs to carry point loads.
- Attaching to exterior SIP walls:
If you must attach a SIP panel, plan for a ledger system. A ledger can be glued and screwed to the interior OSB skin, then secured with long SIP screws from the outside. Do not cut into SIPs for beam pockets. Surface-mount the support and set the ledger height perfectly level.
- Freestanding posts or beams:
Some designs use posts supporting a beam that carries the loft. This works when no convenient walls exist. Ensure posts have proper footings or blocking, and size the beam correctly for the span and load.
A hybrid approach can work too, for instance, one side on a ledger and the other on a post-supported beam. Follow engineered guidance or the kit’s loft plan for sizing.
2. Frame the Loft Floor
Once supports are set, install the loft floor framing. Joists usually run across the span at typical spacing, such as 16 inches on centre.
- For ledger-mounted joists: Use top-mount joist hangers so the joist tops sit flush with the ledger.
- For joists bearing on a wall: Lay them on a top plate (add a sill plate if needed) and align them over studs for a direct load path.
- For a beam: Use hangers or rest joists on top, depending on the design.
3. Ensure Code Compliance During Framing
It’s important to account for building codes early in the framing stage. Paying attention to clearance, railing support, and fire blocking ensures your project meets standards and avoids costly corrections later.
- Headroom: If you’re adding stairs, check head clearance. Code typically needs about 6 feet 8 inches above stair treads.
- Openings and railings: Frame the loft edge to accept a railing or half-wall. A double joist or beam at the edge helps anchor posts securely.
- Fire blocking: SIPs are solid, but any new cavities created by the loft may require blocking.
4. Integrate Utilities if Needed
Plan any wiring, lighting, or ducts before closing up framing. This is easier to address at this stage than afterwards.
5. Finish the Space and Add Safety Features
Focus on adding the right finishes and essential safety features so the area is both comfortable and code‑compliant.
- Add drywall or finishes to the underside if exposed.
- Install the railing or half-wall.
- Add the stairs or ladder and secure them properly.
- Finish the loft floor and install outlets or lighting.
Before calling it complete, check for solidity, test the access, confirm railings are secure, and ensure insulation and sealing at the loft edges are intact.
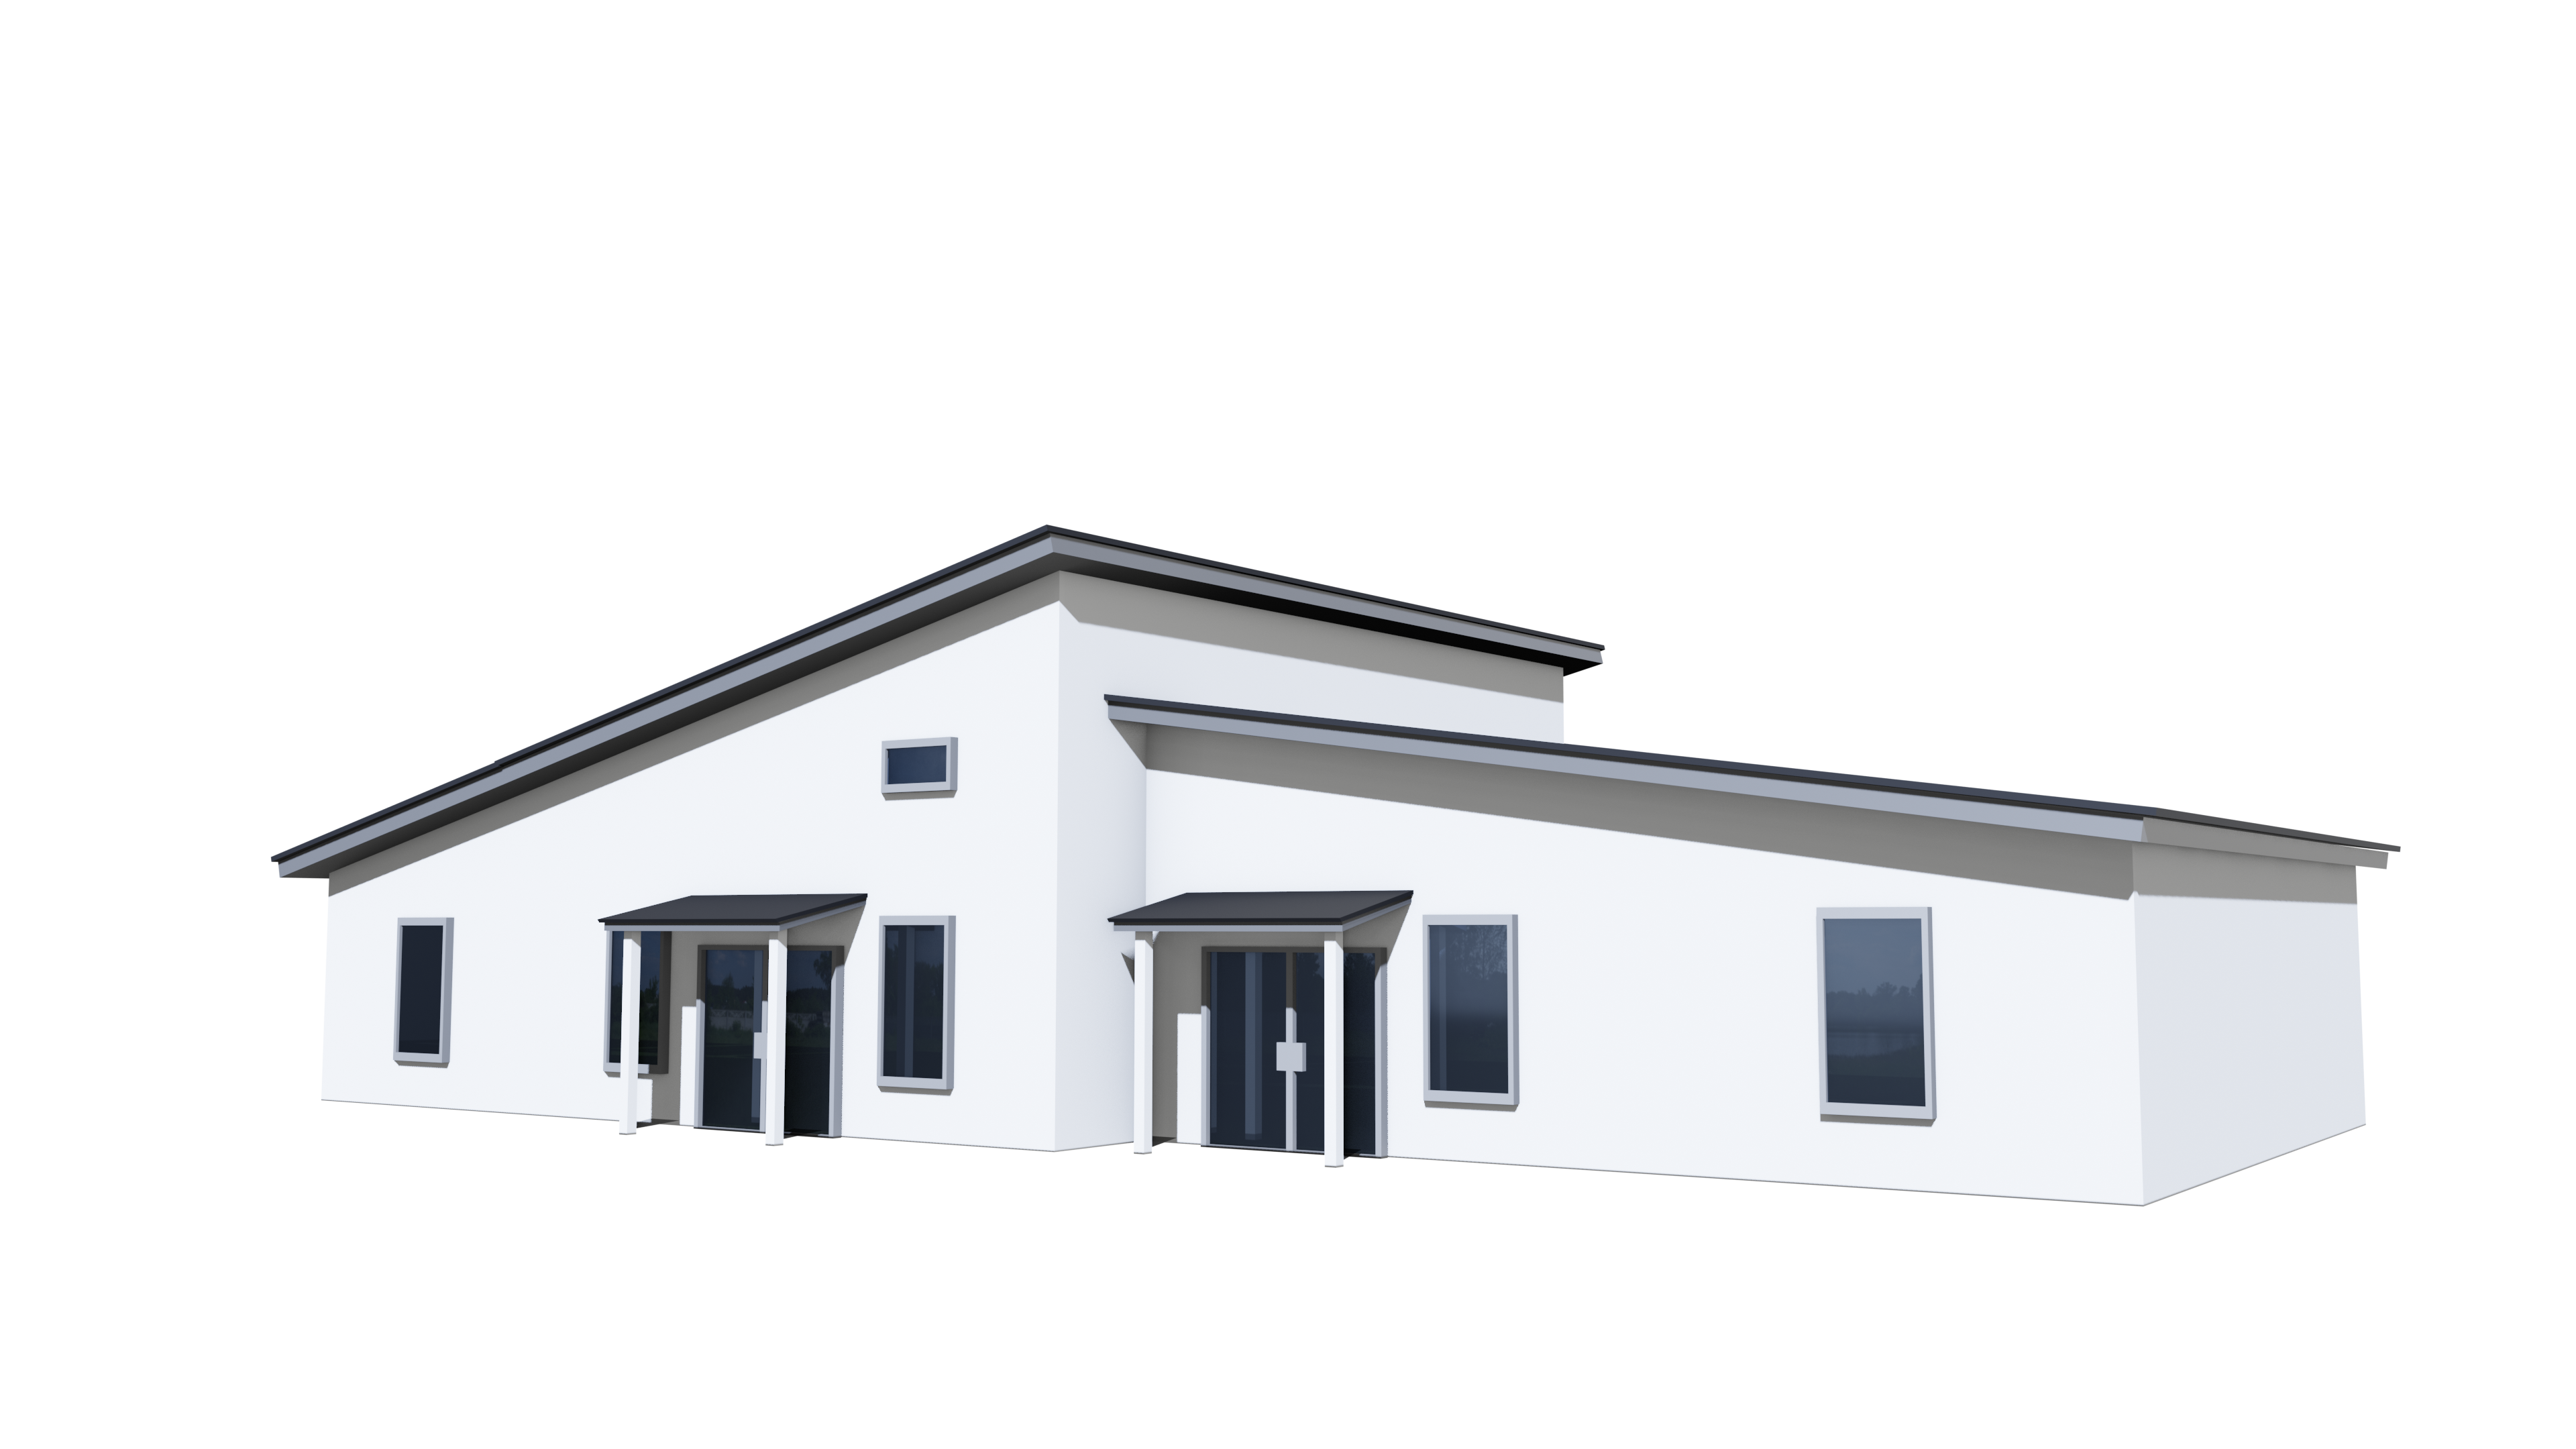
Visual Inspiration: Lofts Transforming Small Homes
Small homes benefit from examples that show how a loft fits within a SIP structure. Visual references help homeowners understand how the loft sits inside the vaulted ceiling and how the framing integrates with the rest of the home.
Kits and Pre-Framed Loft Options
One way to include a loft is to plan for it from the start, and SIP home kits make that straightforward. Companies like Mighty Small Homes design their prefab kits to be loft-friendly, allowing you to choose models that include a loft or add one as an option. This reduces guesswork because the engineering and materials are already provided.
For instance, the Mighty Small Cottage kit can be customized with a loft due to its pitched roof design. The kit’s specifications list the loft as an optional feature and include the extra lumber and framing details needed to add it. The Modern kit also offers a standard loft add-on for about $950. These options show that the loft is a planned part of the modular design.
A “loft-ready” kit typically includes:
- Structural elements, like a ridge beam or glulam, that support the roof without trusses
- Loft floor framing material sized for the kit dimensions
- Interior wall framing that can be aligned to support a loft edge
- Engineering plans and instructions with stamped drawings showing how the loft fits within the SIP home
Planning Loft Features in SIP Home Kits
If you’re working with a kit home, ask about loft options early. Adding the loft during the design stage is usually more cost-effective than planning it later. For existing plans, consult the kit provider or a SIP-experienced engineer to see whether a loft can be incorporated.
Choosing a kit model that supports a loft from the beginning gives you a clearer path for maximizing space.

FAQs
Most SIP structures with a pitched roof can accommodate a loft if there is sufficient height and proper planning. Homes with vaulted or cathedral ceilings are often the best candidates.
There’s no single required height unless the space must meet code for a habitable room. Many small-home lofts have limited clearance and work well for sleeping or storage.
Often they do not. If the height is below the code minimums for habitable rooms, the loft is typically not counted as official square footage.